Showing posts with label bee. Show all posts

Thursday, January 10, 2013

Stripper Project -- Over the Rainbow

This is an ongoing project which group members have 2 months to make a strip of blocks that follows a theme of some sort, then pass on to the next person, and so forth.  The ending project resulting in a quilt make with LOVE, creativity, and hopefully, a size that is desired.

My first project is Melissa's Rainbow strip.  She had an amazing group of different colors with solid white background.

My first idea, learn a new technique!  ha ha!  I used Judy Sisneros' book "Rectangle Pizzazz" and a lot of pins.  It turned out really well.  Using only one 6" strip of a variegated rainbow fabric and one 6" strip of solid white fabric produced this:
Rainbow Curves

Then I read Melissa's request, she wants the strip to be about 14" tall . . . so I had to stack these and trim the white down.  Nonetheless, I did a second strip and put it all together for this effect:
Rainbow Curves 2

Then I read Melissa's request again . . . a minor detail, she wants a "goose" in each block.  Well.  Can't make the whole strip of just this!  I would not be following the rules.  *sigh*  So I had another grand plan, add actual quilt blocks on the ends with the flying geese.

First block is a free-form paper pieced flying geese in rainbow prints, with a dash print background for this:
Flock of geese

Then I did a combination block of the curves and flying geese leftovers for the other side, shown here in the upper right corner:
rainbow stripper #3

All together, this strip with Melissa's looks like this:
rainbow stripper #2
If I had a wall big enough, the picture would of turn out better, showing the full effect of the rainbow.

The flying geese blocked changed a little as well, I added more fabric so it can be trimmed down but also so it will be as long as Melissa's strip (upper left)
rainbow stripper


Monday, August 27, 2012

Stripper Project: French Rose Inspired

Current Project: Stripper Quilt

Excited for my new project that will take a year to participate in.  It is similar to a round robin, but instead of adding rows to a base block/center block, you add a strip of row blocks.

To start, I must figure out what I want my quilt to be, or somewhat what I would prefer to be since other people will be making the blocks for the rest of the quilt.  Nothing like TEAMWORK!

Step 3: Leaves and 1st layer sewn down
My Strip has the parameters of using black & white prints (can be used anywhere) with bright colors (one, two, in combination, etc.).  Why have restrictions?  :-)  My base strip is using the "french rose" pattern concept with a little slicing/sewing to make them a little more interesting.  If you are interested in making these, here are the steps:

Step 1: Determine your background block size.  I went with 9" because I wanted to use a daisy pre-print fabric my mom gave me years ago with enough space around to decide if it needs sashing or not.  So I will have a variety of black/white prints for the background.

Step 4: Layer 2
Step 2: Cutting shapes for each layer.  I free-formed my leaves from lime/bright green prints.  To know the placement of the leaves, I had to cut my first large daisy.  I pinned the leaves in place, some have 3, or 2, or none.  I'm not picky since they will be rearranged in the end.

Step 5: Layer 3, sliced
Step 3: Sew around the edges with a shorter stitch length since this will be a raw-edge applique block.  Some people use fusible webbing on the back to attach to the backing too.  I did not.  It's up to you depending on a variety of factors.  Trim the back as needed (helps with bulk and heaviness).

Step 6: Sliced block
Step 4: Cut random shape for layer 2.  I want the colors to be complimentary to the original flower color scheme, so I went with pink for this lovely purple.  I found a project to use valentine's fabric for!  Sew edges, trim back as needed.

 Step 5: Cut random shape for layer 3.  Sew edges and trim back as needed.


Step 6: Slice your quilt block in half (4.5" for my blocks) going both directions.

Step 7: Mix up your quarters how you want, sew back together.

Step 7: Scrambled & Sewn Back Together
With my blocks, I wanted to mix up the backgrounds to create a 4-patch kind of look, PLUS mix up the layer 1 color.  I soon realized that I have to make a lot more blocks to make the backgrounds mix up more.  I was not paying attention to the size of the flower quarters.  Each block will be uniquely different.  :-)  The 3 colors of layer 1 will help keep it cohesive, there is a light/dark of each of the 3 colors creates a nice variation.

2 blocks
This would be a lot of fun to mix all kinds of prints and colors.


Monday, April 2, 2012

Tri-Cities 2012 Quilt Show

It's that time of year again where quilt shows become a road trip excursion I venture to around the region.  Tri-Cities is 42 miles away from Walla Walla, WA, consists of three separate cities, Kennewick, Pasco, and Richland, that the Columbia, Yakima, and Snake Rivers flows through the middle.  There is about 300,000 people that live in the Tri-Cities area.

Tri-Cities is best known for the Hanford site, aka Manhattan Project, bordering Richland, which is where the nuclear bomb were made for Hiroshima and Nagasaki.  A little regional history.

Back the the quilts!
Black abstract log cabin

Tiny log cabin detail
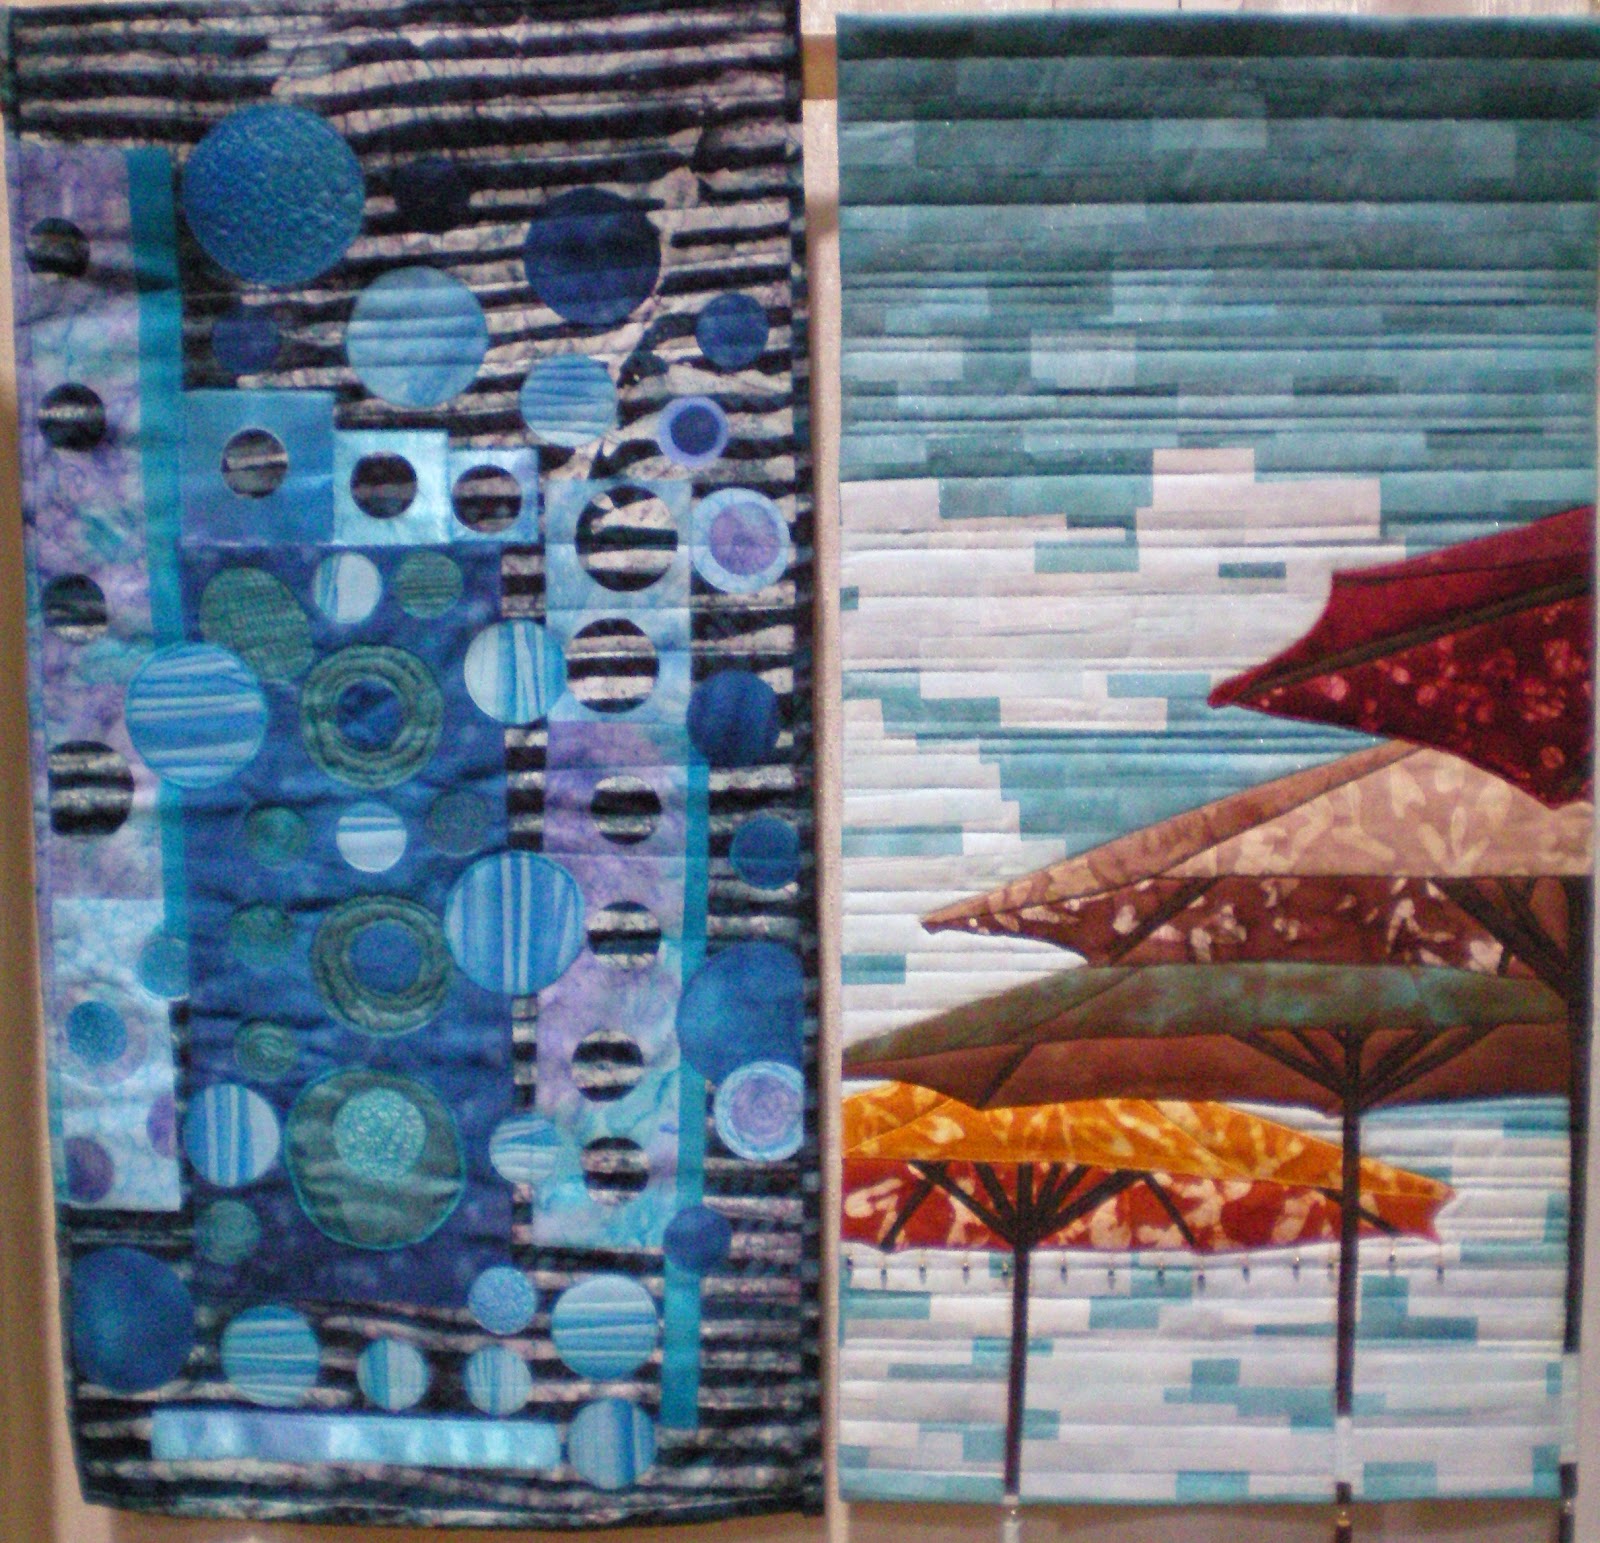
Abstract wall hanging


These mini log cabin blocks were very interesting to see up close.  I love the white version best.


There were a couple of quilts that I really enjoyed at the Tri-Cities Quilt Show this year.  The theme of the show was "Stitching Stars" which some of the quilts are shown below for this challenge.
Love the colors!

Love the trees and colors


The Tri-Cities Quilt Show generally has the Hoffman Challenge and the 2011 challenge fabric was not that inspiring to me this year.  I'm not sure why, could be the more muted palette?  So I didn't take any pictures from this year's traveling exhibits.

The National Featured Artist was Sally Schneider.  I didn't take pictures of the quilts because they were a little too old fashioned for me. I encourage you to google her name and see some of the patterns and quilts she's made.
Sue White's Landscape


Sue White's wall hanging
Sky Detail
quilting detail

 Sue White is the Featured Tri-Cities member and I enjoyed some of her great wall hangings.  Some had great quilting detail, such as the goldfish with the ripples.  The diamond background was very creative, the 3D effect with the foliage, and the great quilting.

Mountain detail
Her landscapes were great too!  There are different layers to create the shading, the netting for texture, and quilting for more movement through the different layers in the picture.


Sue White's 3D tree


Three Sheets to the Wind
She had an amazing tree trunk that was 3D (the lighter trunk) and creates shadows behind, creating a realistic looking tree in addition to the shading and quilting.

I had to take a picture of the Inuit ladies with this wall hanging titled "Three Sheets to the Wind."  I would tell you who made this quilt if I could find it in the quilt program.

COLOR CHALLENGE

Color Challenge -- Yellow and Black
The color challenge was an interesting concept for the show.  A group of quilters picked a color card and the challenge was to design a monotonic wall hanging following the color card.  About 4 colors were duplicated by two different members, while others had one person (for example, one white, one black, etc.)

Color Challenge -- Yellow Greens
You can see the subtle differences in the pink/orange range as well as the green range.  These covered one side of the exhibit hall and was my favorite part of the entire quilt show.  Each of the wall hangings also had size restrictions, creating a uniform appearance to the panels.

I hope you enjoyed these as much as I did in person.  It is hard to see the great details of these pieces of art with a varying degree of experiences of the quilters.

The quilting group meet regularly to teach and learn from each other how to do quilting techniques, which is more creative than the business of a quilting guild.

Color Challenge -- Green/Chartreuse

 Quilting Guilds

I've been a member of two different guilds and attended another guild meeting.  Guilds are a great way to learn from other quilters, build a social circle, etc.  However, the guilds are there to conduct business during the meetings and the workshops they provide for their members help teach new quilting techniques (paid by the dues).  Not all guilds host a quilt show either.  It depends on what the group wants to do as their yearly project or activities.

Color Challenge -- Aquas
One guild I was part of in Bishop, CA, we did a monthly block exchange, we worked on a quilt show that is scheduled during Memorial Day weekend, and we also worked on some group projects, like round robins.  Bishop is a town of 4,000 and there was not a lot of excitement or entertainment.  The guild had some great ladies and talent, helped spark my creativity.

So there are some pros and cons to guilds.  I am not too jazzed about my local guild, but it's been about 9 years since I attended a meeting here, so maybe I'll give it a whirl again.

Color Challenge -- Aqua/Blue/Turquoise range
My friend and I enjoy meeting once a month to do a "sew-in" to visit, eat, sew, discuss, etc.  She roped me into doing an online bee this year, SewBeeIt, that I really enjoy.  It's been awhile since I did monthly homework assignments.


 The Shopping

Color Challenge -- Pink/Salmon range
The best part about the quilt show was seeing the increased number of vendors, which there were more selling bolted fabric than previous year.  I rarely bought anything last year because all they had were kits, pre-cuts, patterns, which I generally do not buy.  However, my hobby is getting a little too expensive for me when prices have jumped to $12/yard.  For cotton.  The batiks used to be the most expensive thing to sew with, but not anymore.

Color Challenge -- Orange range
I checked out online if there were any sales that I could go to instead.  Craft Warehouse had all their bolted fabric 30% off, so I spent my allotted budget there, plus, if you showed them your quilt program, you get a free $5 gift card.  Even better!

Craft Warehouse has really good quality of fabric than JoAnns and great prices when it's on sale.  They have the new Kate Spain "Good Fortune" line, not all the prints and colors, but I snagged the magenta bamboo print.  You can still find some of the "Terrain" and "Central Park" fabrics.

Color Challenge -- Terra Cotta range
There was a nice collection of Moda's Modern Half Moon fabric, which I got the grey modern leaves.  There was some Mary Engelbreit fabrics for the "Kitchen Kapers" line with aprons, panels, etc. and I splurged on this too.  I have plenty of the black background with cherries, so I resisted.  Mary Engelbreit is about as "cute" as I go with my novelty fabric.

I got 15 different fabrics, about 20 yards of fabric for about $120, that includes sales tax.  Yes, I am the type of person to buy random one yard cuts of fabric.

Color Challenge -- White/Beige range
They also have a huge table full of flat folds for $6/yard but those weren't on sale this time.  Sometimes you can snag some Patty Young 2009 fabrics, so it's usually a good idea to check it out once in awhile when you have the time.  You never know what you will find.


Monday, February 20, 2012

SewBeeIt March Block

It's my month for the SewBeeIt group and I've selected to use batik fabrics to make a block referred to as the "Garden Fence."  Not sure why it's called that but I like the appeal of using scraps and strip piecing.  I've seen pictures on flickr that show the center square being one print, the corners being another print, and white solid for the block sashing.  Of course, I want to be different.

Jovanna's Batik Garden Fence Quilt Block

Here are the cutting dimensions for one block that finishes at 10" (10 1/2" unfinished)
Center square: 4.5" x 4.5"
Outer corners: 4 - 2.5" x 3" and 4 - 2.5" x 5" 
Beige (light): 1.5" strips

 This tutorial to to help my beemates to make 2 blocks for me.  Please do not wash the fabric.

March Batik Packet
Each packet will have 2 types of beige-ish batik for the sashing that needs to be cut into 1.5" strips (far bottom right).  You can mix and match like I did, or you can make them all match.

8 batik strips for corners
Next, identify the 2 batiks that are approximately 5" wide to cut the two 4.5" squares for the center (bottom left).

Finally, each person will have 8 different batik strips to cut into 2.5" strips, then cut one 3" and one 5" rectangles for the corners.  I provided enough fabric in case you have a lapse in measuring, like my first block had 4" centers so now it's going to be a glorified potholder.

How-To Sew It All Together

Garden Fence
Batik Garden Fence Block
Sew a border of beige fabric around the 4.5" squares, sewing opposing sides on first, then the next opposing sides.  Press to the outside.

Layout the corners to determine which fabric will be paired together.  Sew the two top small rectangles together with a sashing in the middle to create a "spoke" from the center, and do the same for the bottom.  These are sewn on the bordered center blocks.  I prefer to sew the set to the "short" side first -- the side where the first beige border was sewn (see the example block).

Sew the matching longer rectangles to the beige sashing to create the last "spokes" from the center.  Make sure the batik fabrics match in the corners (see example block).

Press the seams anyway you see fit as you work your way around the block.

The end result will start to look like this:

Garden Fence Layout
Quilt layout without sashing
The "spokes" will match up creating an interesting effect of plus signs and floating squares.

Sunday, January 29, 2012

SewBeeIt Blocks

I'm part of the SewBeeIt online block exchange on flickr.

I spent January getting caught up on almost 3 months worth of blocks while I was doing a sew-in at Shanna's house.


NOVEMBER
November choice was making 2 blocks, any size with the fabric sent.  She sent solid white and a good selection of 5 different prints.


Nov 2011 block 1
Garden Fence
Nov 2011 block 2
Bottle Block
My first choice is what is called "Garden Fence" -- not sure why.

Nonetheless, the pictures I've seen, people used solid fabric for the "fence."  I decided to use a different print for each corner, making it visually interesting.  The white solid is 1.5" strips, the center is 4.5" square, and the corners are 2.5" strips cut into 3" and 5" rectangles.


With the scraps, I decided on making a "bottle" quilt block since it's free form, abstract, and looks good with solid borders.


DECEMBER
We get  a break.  However, I didn't get the November fabric until it was Thanksgiving, which is the crazy holiday time which seems like nothing gets done.  I also had a 2 week vacation for New Year's to Maui in there.


JANUARY
Jan 2012 Block 1Jan 2012 block 2Our beemate sent 2 solids and 3 different prints to make Kate Spain's "Flurry" presents using the pattern: www.hancocks-paducah.com/ItemFiles/PDF/MPS27080.pdf


The blocks went together really fast and easy.  I can see using this pattern for birthdays too.


FEBRUARY
Our beemate wanted "confetti" blocks made with scraps and solid light grey.  There are a couple of different ways to do this and I chose to do the random width borders around each fabric, then trim to put the puzzle pieces together.  One of the time-sucking tasks is just sewing the borders on all the smaller pieces, then trim, trim, trim.  After that, then the fun begins!

Feb 2012 block 1
Block #1: easy!
Feb 2012 block 2
Block #2: running out of scraps!
It's a simple concept for any beginner quilter.  I started with block #1 and moved to block #2 to realize that I was running out of the confetti.

The second block was more of a test of my patience because our beemated wanted 13.5" blocks so had to try to make the block bigger.  I did have to seam rip the right side a few times to add bigger borders, trim scraps down so you can have stretch out the block.  It can be frustrating to make it work, but probably could of been easier if I had any of the fabrics provided to just make more confetti pieces.

That is my advice: make sure you have extra scraps just in case you need to stretch out the blocks bigger.  Oh, she included a 1/2 yard of solid and I had about a 5" strip left.  A lot of trim work, seems like a waste, but it creates a cute looking block, especially if you need to use up your scraps.

Friday, September 23, 2011

Sewing Updates

I'm part of this online group, Sew Bee It, through my BFF Shanna, and it's hosted through Flickr.

The ladies for August and September live in the UK.  Well, August did not arrive until August 31, while the September fabric arrived around September 9th.  So apparently it takes 1 week - 1 month for mail to arrive from the UK.


Paw Prints
August: Paw Prints
Churn Dash redux
September: Churn Dash Redux
There was enough fabric for August for me to do 2 blocks.  The queen wanted anything that came out to 12.5" blocks.  I made paw prints and a cobblestone block.

September queen wanted a specific pattern with solid white in the "geese" and outer corners.  Did not quite have enough fabric for two, did manage to get one done.  I loved her color combination and wished I had enough of the solid black to make block #2.


SHG SwapGiving myself deadlines seem to inspire me.  Or at least off my duffer to do something.  I decided to sign up for SewHappyGeek table runner/wall hanging exchange.  You have until Sept. 30 to sign up.  The table runner/wall hanging has to be finished by Nov. 15.  See, deadline, helps me.  I'm on board!

Sunday, July 10, 2011

Sew Bee It

Sew Bee It

My friend Shanna is leading an online bee group and how can I pass it up?

Packages of fabric and return envelopes are sent out on the 1st of the month and all I have to do it do a block or two and sent it back by the end of the month. Easy enough. For July 2011, the "queen" of the month selected a cross block 14.5" x any size. I'm glad I got colors that weren't gross. :-) Here are the blocks I did for her.